

How to add custom questions to your evaluations using Watermark Course Evaluations & Surveys (formerly EvaluationKIT)

Apr 14, 2026
 15423
15423
Initial Setup and Login
To log into your Watermark Course Evaluations & Surveys (CES) account, please access the following link: Course Evaluations & Surveys
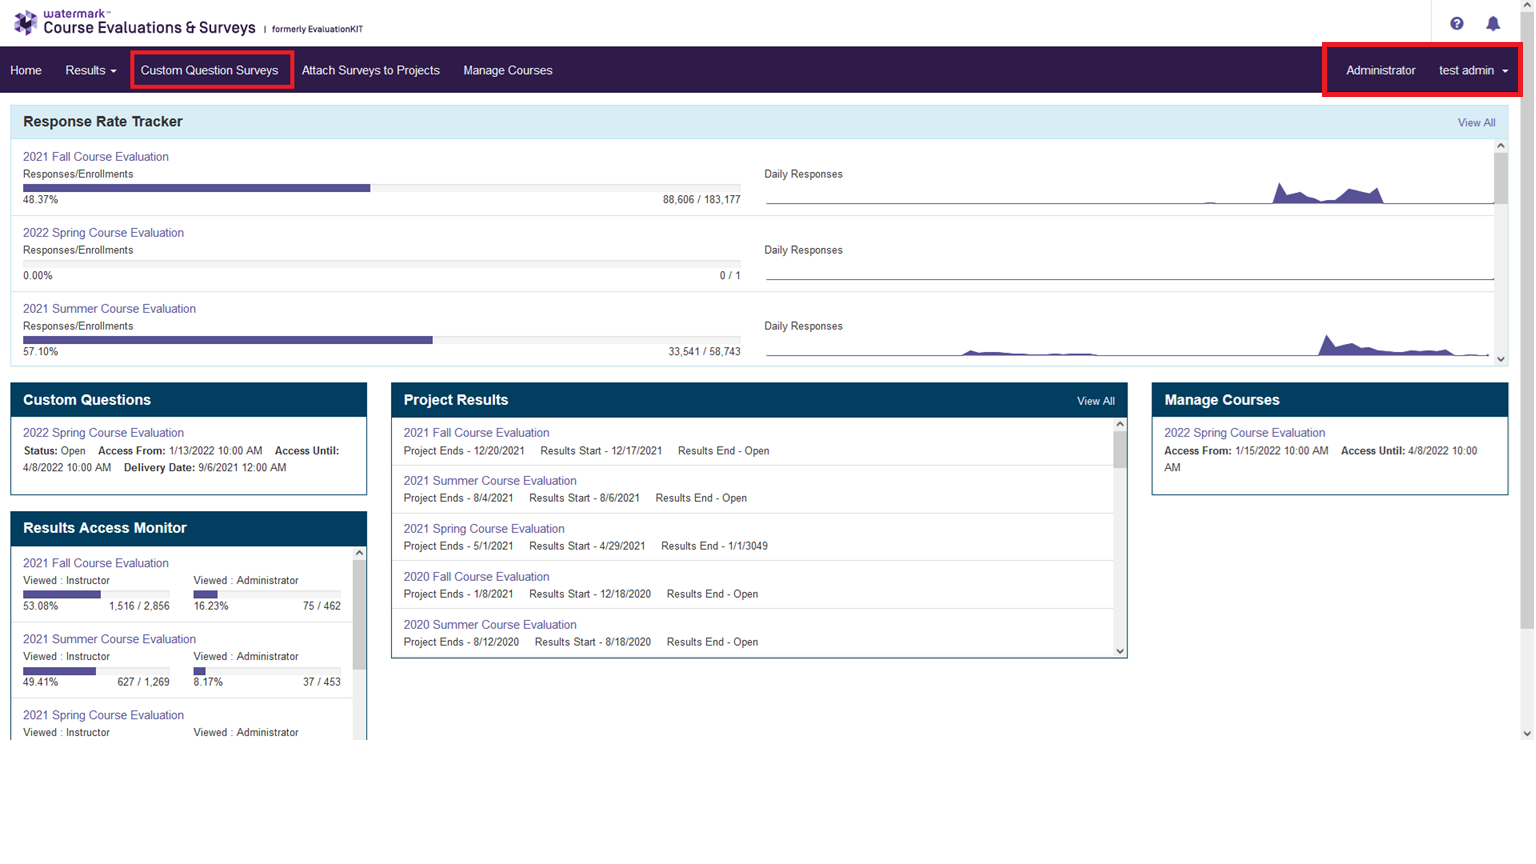
Note: Your FSUID and password will be required to login. You may need to toggle to your Administrator account by using the drop down menu at the top right of your screen as indicated in the image below.
Your CES home page should look similar to the image below. There may be slight variations in the layout of this page depending on how your CES administrator has configured your project widgets.
Creating and Assigning Custom Question Surveys
-
Click the Custom Question Surveys link at the top your
screen.
-
Use the Create New Custom Question Survey at the top right
of your screen to start from scratch, or use the edit button to edit a
pre-existing survey.

-
Enter a name and description for your Custom Question Survey and click
Save.

-
Use the drop down menu to select the option to create a new question or pull
a question from a previously built survey.

-
Use the drop down menu to select the desired question type.

-
After selecting a question type you will be taken to the configure menu for
that question. After you are done use the Save button at
the top right of the screen. Repeat until you have added all desired
questions.

After you have configured all necessary questions be sure to click the done button at the top right of your screen to save all changes to the survey.

-
Once you have finished adding questions and saving your survey you need to
attach it to a project so that it will be visible. To do this use the
Custom Questions Projects button at the top of your screen
and select the desired project by clicking the project name.

-
Click the button labelled Add Survey.

-
Select the desired custom question survey from the listed options and click
next.

-
Use the courses tab to select which courses to attach the custom question
survey to. After you have selected the desired courses use the
Finish & Add button at the top right of the screen.


