

Getting Started with Lucid

Mar 24, 2026
 94
94
This article focuses on accessing and utilizing Lucid within our Canvas instance. Check out our Lucid overview article for more information and resources!
How to Access Lucid in Canvas
- Go to your Canvas Course.
-
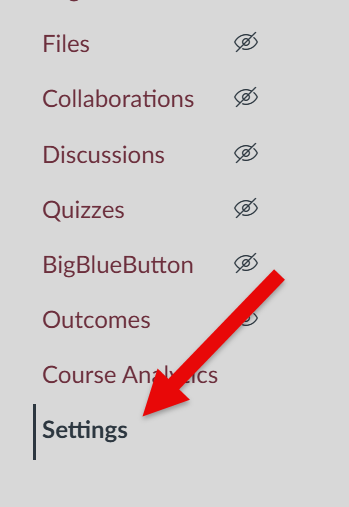
Select Settings in the left-hand navigation.
-
Select the Navigation tab at the top of the
Settings page.

-
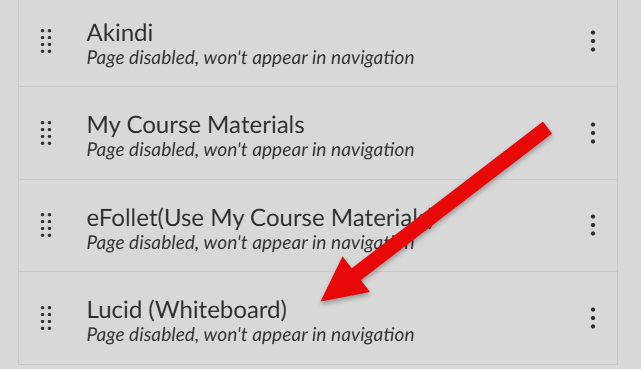
Scroll down the page and locate Lucid (Whiteboard) in the
list of disabled items.
-
Select the three-dot options widget and hit Enable
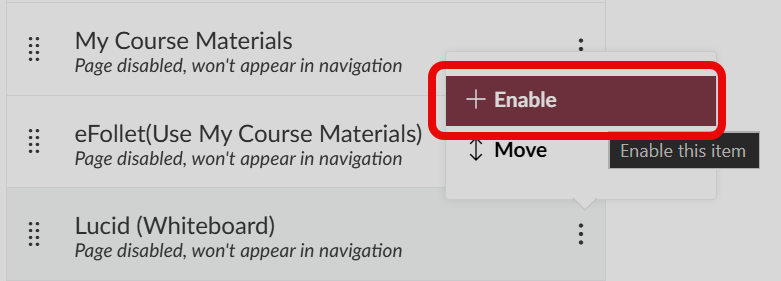
- Select Save at the bottom of the page.
Getting Started and Account Creation
Now Lucid will appear in the left-hand navigation of your Canvas course. Once you select it, follow these steps to get started:
-
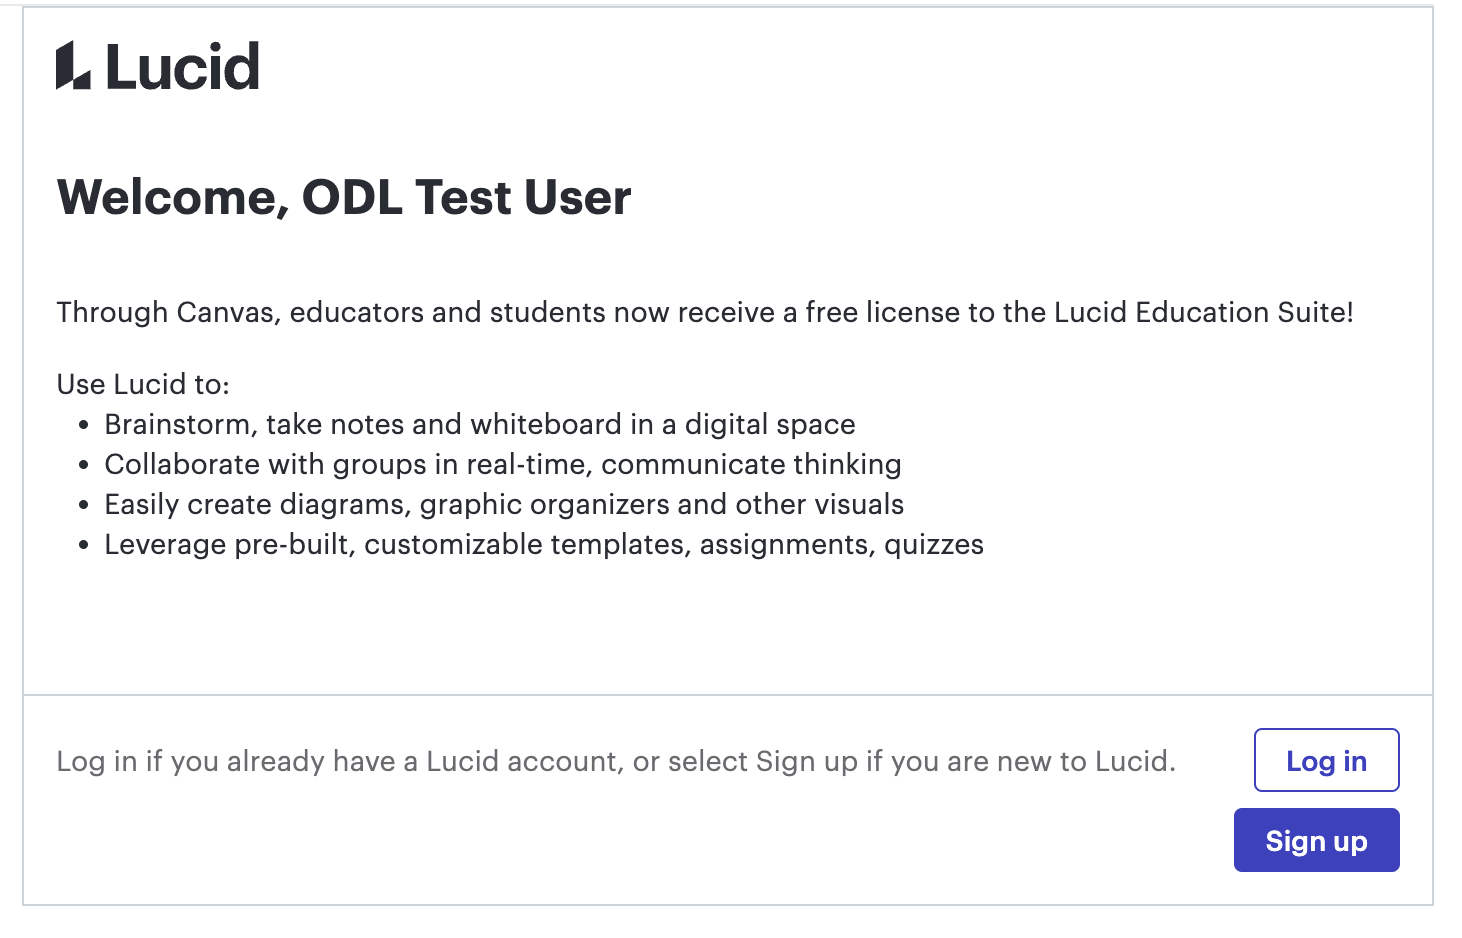
When you select Lucid (Whiteboard) from the left-hand
navigation, you'll need to either Log In or Sign Up. If you haven't
made a Lucid account, select Sign Up.
-
Next you'll select Register

-
Lucid will recognize your Canvas email and navigate you to the account
creation portal. Once your account is created, Lucid will recognize your
Canvas login. When relaunching the app via the left-hand navigation in your
Canvas course, an iframe will open with a link to open Lucid in another
browser window, along with links to some additional resources.
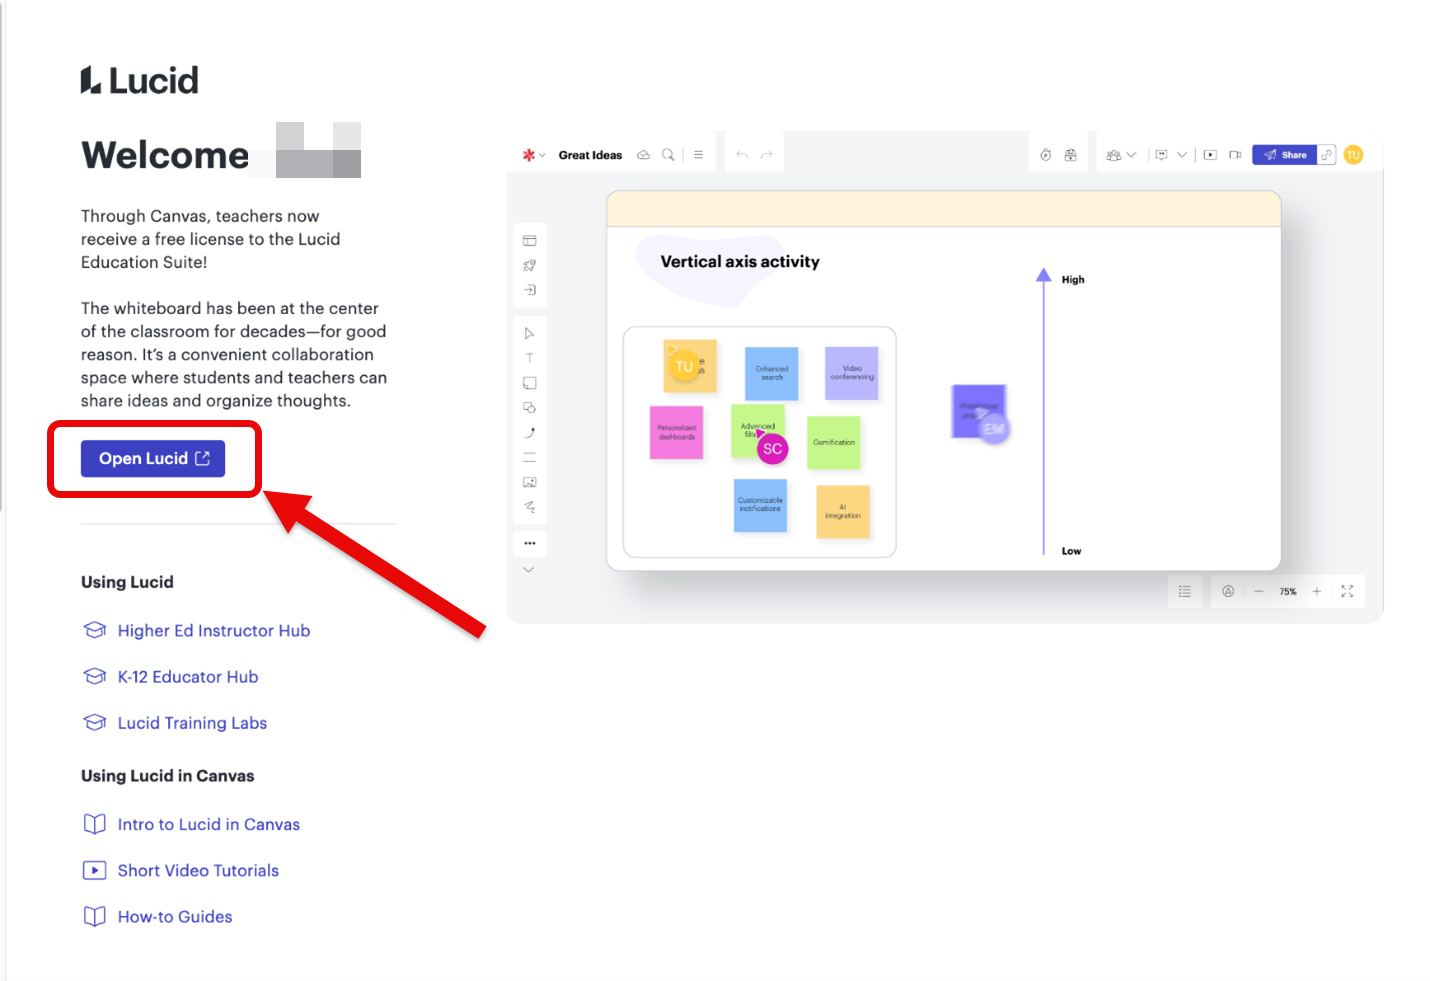
Selecting Open Lucid will navigate you to access Lucid via another browser window. There, you can work on your own charts or charts for your course assignments in a dynamic workspace until you are ready to connect them via Assignments in Canvas.
Check out our Using Lucid in Canvas Assignments article for steps on connecting Lucid to your Canvas assignments.


